
Trying to secure housing in Japan before you land is one of the more stressful parts of an international move. The Japanese rental process was designed around in-person viewings, physical document submissions, and face-to-face contract signings — all of which assume you are already in the country. The process for overseas renters works around these constraints, but it requires a different approach and a longer lead time than most people expect.
This guide covers the full overseas apartment application process for Japan: what is possible before arrival, what has to wait until you land, and how to structure your timeline to avoid the common situation of arriving in Japan without somewhere to go.
Browse current Tokyo listings with video walk-through availability on Arealty — or read on for the full process before you begin your search.
What Is and Is Not Possible Before Arrival
Being honest about this upfront saves a lot of wasted time.
What you can do from overseas:
- Browse and shortlist listings
- Make initial inquiries and communicate with your agency
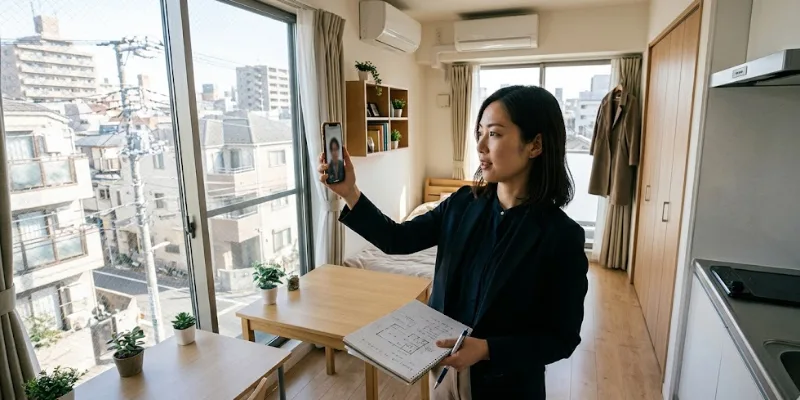
- Complete a video walk-through of the actual unit
- Submit a pre-application with documents available outside Japan
- In some cases: sign a conditional contract pending residence card issuance
What typically cannot happen until you are in Japan:
- Provide a residence card (在留カード) — this is issued only after you register at your ward office upon arrival, and most landlords will not proceed to final contract without it
- Make cash or wire payments through a Japanese bank account (if required)
- Sign a contract at the agency in person (though digital contracts are increasingly accepted)
The residence card requirement is the primary bottleneck. There is a workaround (see below), but it affects the timeline and the type of landlords and units available to you.
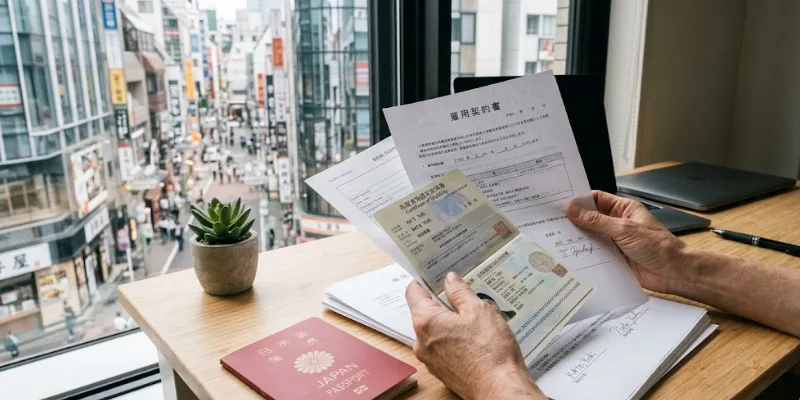
The Overseas Application Timeline
The timeline below assumes you are moving to Tokyo. Adjust the lead times for Osaka or other cities — the process is similar but some local agencies are less set up for fully remote applications.
8–12 weeks before arrival: Start your search
This is earlier than most renters think necessary. The reason: the best foreigner-accepted units in desirable areas move within 1–2 weeks of listing. If you start 3 weeks before your move date, the units available to you will be whatever is left, not what fits your preferences.
At this stage: establish your budget, preferred ward or area, and required apartment type. Read our ward-by-ward rent guide to set realistic expectations before shortlisting. Contact Arealty or your chosen agency and explain your arrival date and document situation explicitly.
6–8 weeks before arrival: Shortlist and view
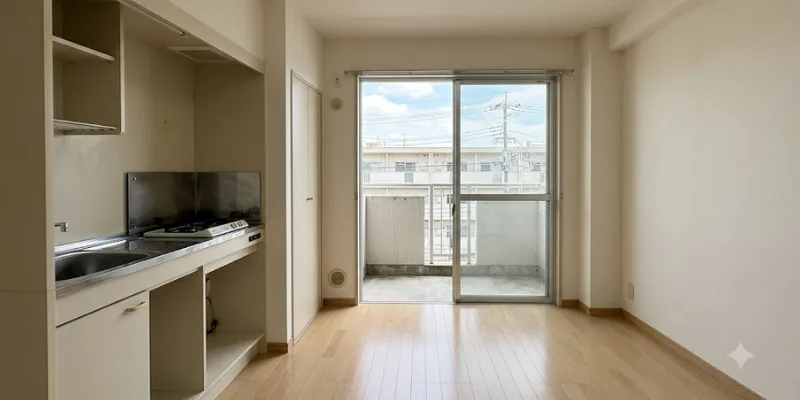
Once you have an agency in place, shortlist 3–5 apartments and request video walk-throughs of each. A video walk-through should show you the actual room — not listing photos — including: natural light at different parts of the day if possible, bathroom and kitchen condition, storage, views from windows, and the entrance area and corridor. This matters because listing photos in Japan frequently show sample units, not the specific room.
4–6 weeks before arrival: Conditional application
Some landlords will accept a conditional application — a formal expression of intent to rent, subject to your arrival and residence card submission. Not all landlords accept this arrangement. Landlords and management companies with experience handling overseas renters (which is a specific category — not just “foreigner-friendly” generally) are the ones where this is possible.
At this stage, submit the documents you can provide from overseas (see below). Your agency manages the landlord and guarantor company communication on your behalf.
Arrival week: Residence card and final contract
Your first stop after clearing customs should be your ward office to register your address and receive your residence card. Within 2–3 business days of arrival, bring your residence card to your agency to complete the final contract. Most overseas renters aim to arrive 3–5 days before their intended move-in date to allow for this.
The Document Problem: What You Can Prepare Abroad
The documents available to you from overseas form the partial application package that agencies and landlords assess before your arrival.
Documents you can provide from overseas:
| Document | Notes |
| Passport copy | Valid for at least 6 months beyond arrival |
| Certificate of acceptance / enrollment | From university or language school — confirms reason for move and expected stay |
| Employment contract (if relocating for work) | States salary, employer, and contract duration |
| Home-country bank statements (3 months) | Shows financial stability before Japan income exists |
| Parental income guarantee (students) | Parent’s income documentation + signed guarantor letter |
| Home-country tax return or income certificate | For self-employed or freelance applicants |
| Visa approval notice or Certificate of Eligibility (COE) | Issued by Japanese immigration before your visa — confirms visa type and duration |
Documents you cannot provide from overseas:
- Residence card (in-Japan only)
- Japanese bank account statements (before opening one in Japan)
- Japanese income proof (before working in Japan)
The Certificate of Eligibility (在留資格認定証明書, COE) deserves special mention. The COE is issued by Japanese immigration authorities — typically through your school or employer — before you receive your actual visa. It is issued outside Japan and confirms your visa category and approved stay duration. For overseas renters, the COE is the closest functional equivalent to a residence card in demonstrating your legal right to stay. Many landlords and guarantor companies with overseas renter experience will accept a COE for a conditional application.
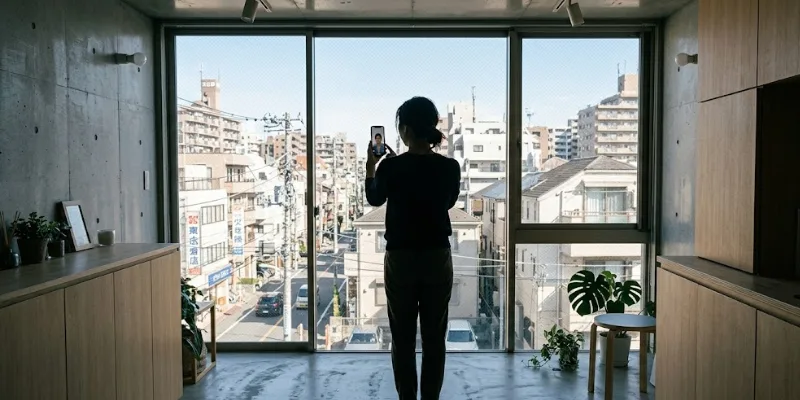
The Viewing Problem: How to Confirm a Unit Without Being There
Viewing before applying is a foundational principle of the Japanese rental process — but for overseas renters, it requires adaptation.
Video walk-through (recommended for all overseas applications)
A video walk-through of the actual unit — not listing photos, not a virtual tour of a model room — is the minimum standard for committing to an application from overseas. Request this explicitly and confirm it shows the specific unit you would be renting. If an agency cannot provide this, that is meaningful information.
What a useful video walk-through covers:
- Entry and corridor from the front door
- Main room in natural light (note the time of day)
- Kitchen: appliance age, counter space, ventilation
- Bathroom and separate toilet (if applicable)
- Storage: closet depth and height
- Views from every window
- Any visible damage or wear
Proxy viewing
If you have a trusted contact already in Tokyo, an in-person proxy viewing is worth arranging for your top choice. Ask your contact to video-call you from the unit so you can ask questions in real time.
Floor plan + independent research
Japanese floor plans are dimensionally accurate and legally required to be. Before committing to an overseas application, cross-reference the floor plan with the Japanese apartment floor plan guide to understand what the measurements mean in practice.
Contract Signing From Overseas
Japan’s rental contract process has moved significantly toward digital signing since 2021, when electronic contract law changes removed the requirement for wet signatures on residential leases. Most larger management companies and agencies — including Arealty — now support fully digital contract signing via certified e-signature platforms.
What this means for overseas renters: the contract can, in principle, be signed before you arrive. The practical limitation is still the residence card — many landlords require the Zairyu Card number to be entered in the contract, which means a fully completed contract typically waits until arrival week.
The typical overseas process: a draft contract is reviewed and approved digitally before arrival, then counter-signed with residence card details added in the arrival week. This gives you certainty about the unit and its terms before you land, even if the final execution waits for your card.
The Residence Card Bottleneck — and How to Work Around It
The residence card is the central bottleneck in overseas apartment applications and the source of most timeline failures.
Why it cannot be rushed: The residence card is issued by the ward office upon address registration, which requires a physical address in Japan. You cannot register your address until you have arrived and have an address to register. This is a circular dependency: you need a residence card to complete a lease, but you need a lease address to get a residence card.
The practical workaround: Use a short-term address for initial registration — a friend’s address, your company’s Japanese address (if relocating for work), your school’s address, or a monthly mansion address — to receive your residence card, then update your registered address once you move into your apartment. This is legal, standard practice for new arrivals, and the address on your residence card can be updated at the ward office once you have moved in.
For students, many language schools and universities specifically provide a temporary registered address for newly arriving students for this reason.
Who This Process Works Best For
The overseas application process works most reliably for renters in these situations:
- Corporate relocation with employer support: employer provides COE, employment contract, and sometimes a temporary registered address — the application is unusually complete from overseas
- Language school or university students with a COE: school enrollment + COE covers the core documentation gap; parental income guarantee covers the income gap
- Remote workers with provable stable income from a foreign employer: income is documentable, visa is typically work or business-related, timeline is flexible
It is harder — though not impossible — for:
- Working Holiday renters with no job confirmed: the income documentation gap combined with no COE and no enrollment certificate leaves the overseas application thin. Share house on arrival, then private apartment search in-country, is more reliable.
- Anyone who needs to move in on the day they arrive: the residence card process alone takes 2–5 days from landing. Build in at least a week of short-term housing at arrival.

The Short-Term Bridge Option
For renters who cannot complete their apartment search from overseas, or who want certainty about their accommodation on arrival day, a short-term bridge arrangement is the standard approach.
Book a monthly mansion, share house, or hotel for your first 2–4 weeks. This gives you:
- A registered address for your residence card
- Time to view apartments in person before committing
- Flexibility to let the right unit come available rather than taking whatever was still available pre-arrival
The monthly cost of a monthly mansion (¥100,000–¥180,000 in Tokyo) is higher than a private apartment — but the cost of a poor overseas application decision (¥400,000+ in move-in costs on an apartment you end up leaving early) is typically higher still. See the Tokyo short-term rental guide for current options and pricing.
How the Process Differs by Country of Origin
Australia, Canada, New Zealand, UK, Ireland, Taiwan, Hong Kong (Working Holiday eligible)
Working Holiday visa holders have a COE-equivalent: the visa approval itself, issued by the Japanese consulate in your home country. This is accepted by some overseas-experienced landlords as a partial substitute for a residence card in conditional applications. Income documentation is the bigger challenge — see the Working Holiday rental guide for the specific approach.
Vietnam, Thailand, Indonesia, Philippines (language school and work visa arrivals)
The COE pathway is the most important document for this group. Schools and employers are responsible for initiating the COE application on your behalf — confirm this is in process well before your target arrival date. The overseas application timeline above applies fully, with the COE substituting for the visa in pre-arrival document packages.
India, US, Europe (typically work or student visa)
Typically arriving on employer-sponsored or university-sponsored visas, which means the COE and employment/enrollment documentation is well-established before arrival. The main gap is income proof in Japan — covered by employment contract and bank statements for work visa holders, and parental income guarantee for students.
Further Reading
- Student visa Japan — how landlord screening actually works
- ISI Language School July intake — housing timeline and checklist
- Why apartment listing photos in Japan can look different from the real room
- Short-term rental options in Tokyo — bridge housing on arrival
- Average apartment rent in Tokyo — set your budget before searching
- Renting in Japan as a foreigner — full step-by-step process
- Working Holiday visa rental guide — overseas application specifics

Real estate advisor at Arealty Japan, specialising in helping foreign residents navigate the Tokyo and Osaka rental markets. Lucy has guided hundreds of international renters — from Working Holiday visa holders to corporate relocations — through Japan’s apartment application process. Her writing draws on firsthand experience with landlord screening, guarantor companies, and foreigner-friendly listings across all 23 Tokyo wards and major Kansai cities.